
Insight 110 — Implant Impressions: The Tools
In the previous part we saw that an implant impression is not a copy of a surface; its job is to transfer the position of the implant from the mouth to the stone model. This part turns to the components and materials that carry out this transfer, and what each of them needs in order for the implant’s position not to shift along the way.
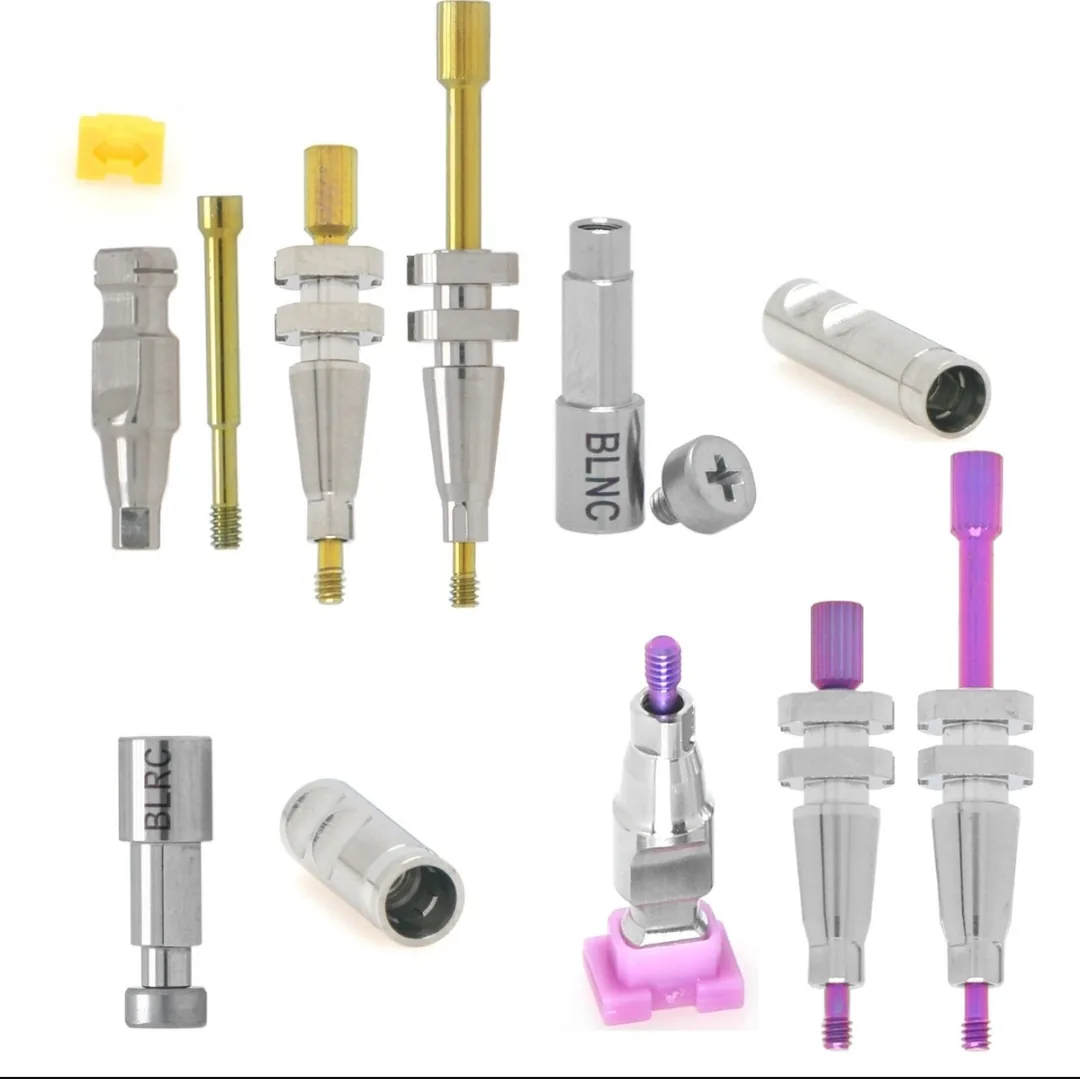
Impression coping
There are two main types of coping, named after the impression technique: open tray and closed tray.
The walls of an open-tray coping have corners, grooves or projections so that it locks firmly inside the impression material.
A closed-tray coping has a simpler shape with no retentive projections, so that the impression can come off it without catching. It usually also has a flat surface that helps it go back into the impression later, accurately and in the right orientation. In some systems a plastic cap is placed on it that stays inside the impression.
How each one works and where it is used is the subject of the next part.
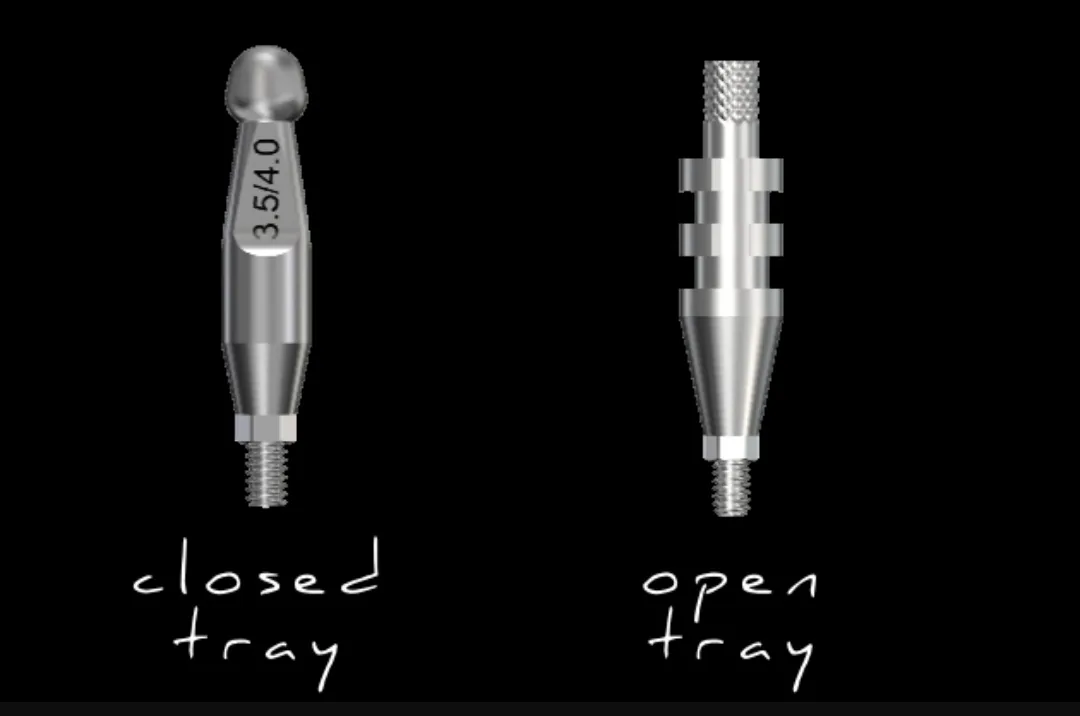
Coping screw
This is the screw that fastens the coping to the implant. In the open-tray technique it is long and is also called a guide pin, because it protrudes through the tray. In the closed-tray technique it is short and sits inside the coping. This screw is tightened by hand and does not need the torque of the final screw, but it must be tight enough for the coping to seat fully and not be loose.
Analog
The analog must be from exactly the same system and the same platform diameter as the implant. An analog from another system that looks similar may not have the same connection as the patient’s implant, and anything built on it may not seat properly in the mouth. That is why, when the impression is sent to the lab, we also write down the name of the system and the diameter of the implant precisely.
Tray
The tray must be rigid enough not to flex when the impression is removed. A soft plastic tray may flex and then spring back to its original shape, and that alone is enough to shift the position of the copings inside the impression. In multi-implant and full-arch cases a custom tray is the better choice, because the thickness of the material stays uniform everywhere.
Impression material
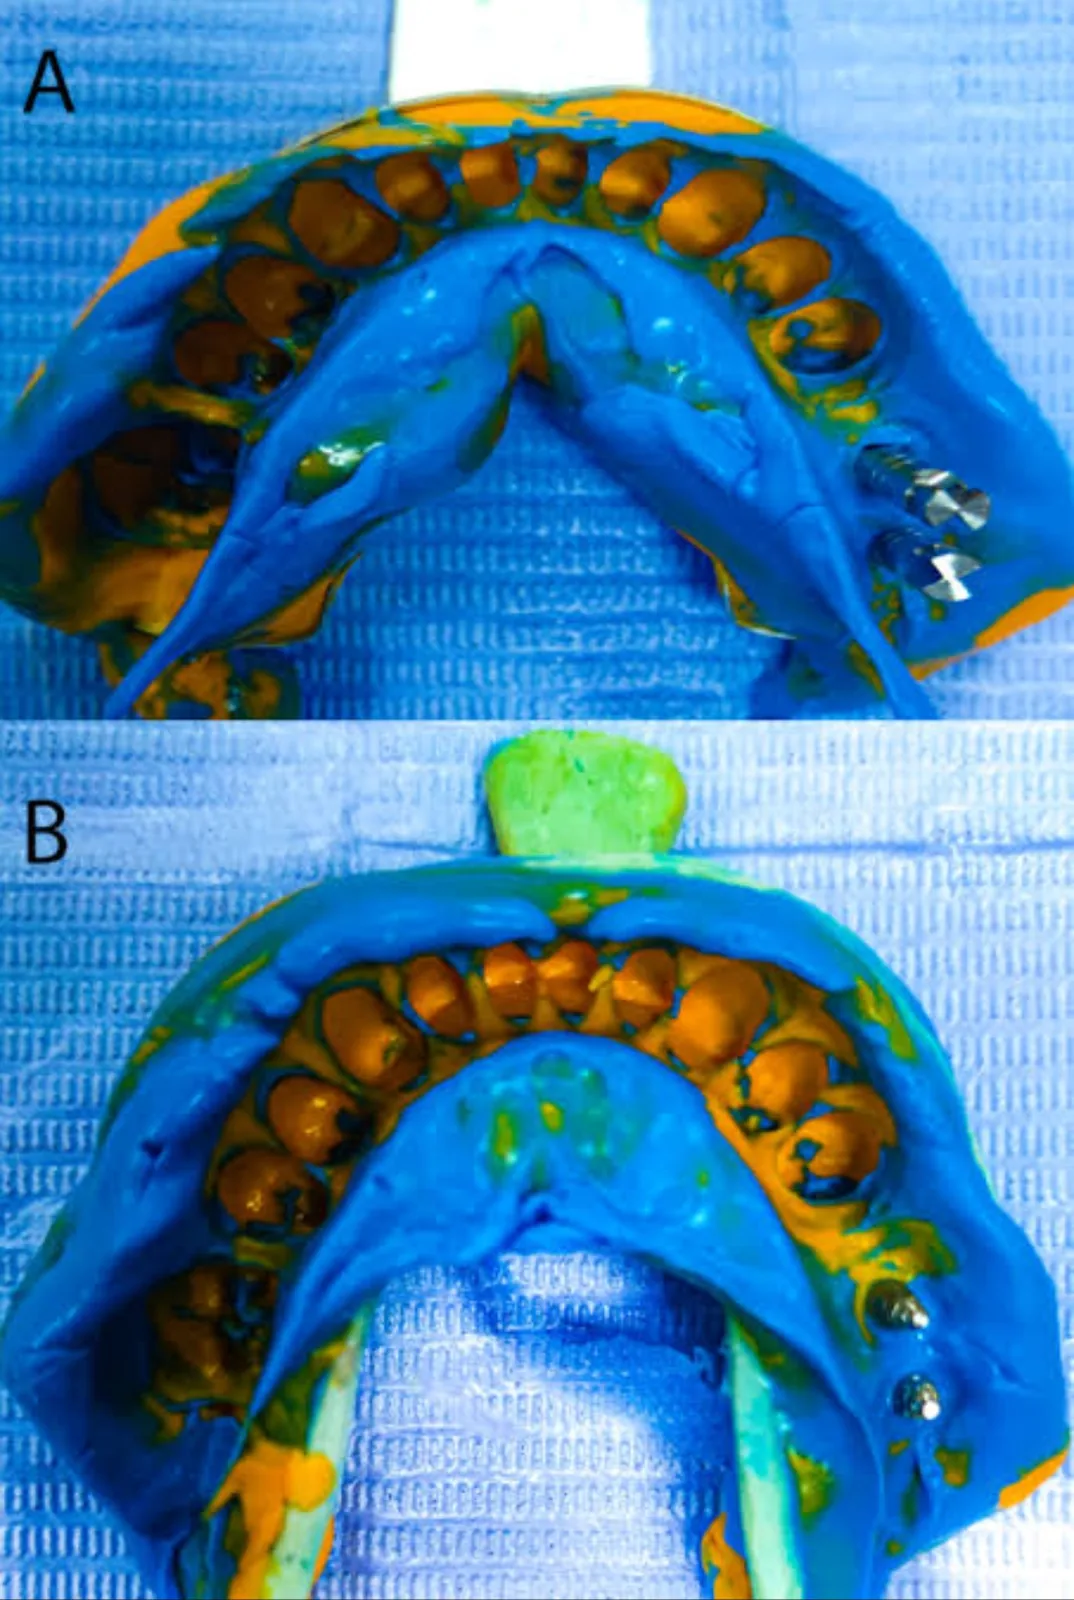
In a tooth impression, the most important property of the material is recording surface detail. In an implant impression the material has another job as well: it must hold the coping firmly in place. If the material is soft, the coping moves slightly inside it, especially when the lab screws the analog onto it and force is applied.
That is why we use a material that is highly rigid after setting. The common choice is PVS, usually as putty and light body or as high-rigidity types such as heavy body and monophase. Polyether is also an option and holds the coping firmly, but it is used less today; the stiffness of polyether makes removing the impression difficult, especially when there are large undercuts or mobile teeth in the mouth. Alginate is not suitable for an implant impression, because it neither holds the coping firmly nor remains dimensionally stable after it is removed from the mouth.
Scan body
In a digital impression, instead of a coping and impression material, a component called a scan body is screwed onto the implant and the intraoral scanner records its shape. We will cover the details in later parts.
Implant-level or abutment-level impression
In most cases the coping is fastened directly onto the implant itself, which is called an implant-level impression.
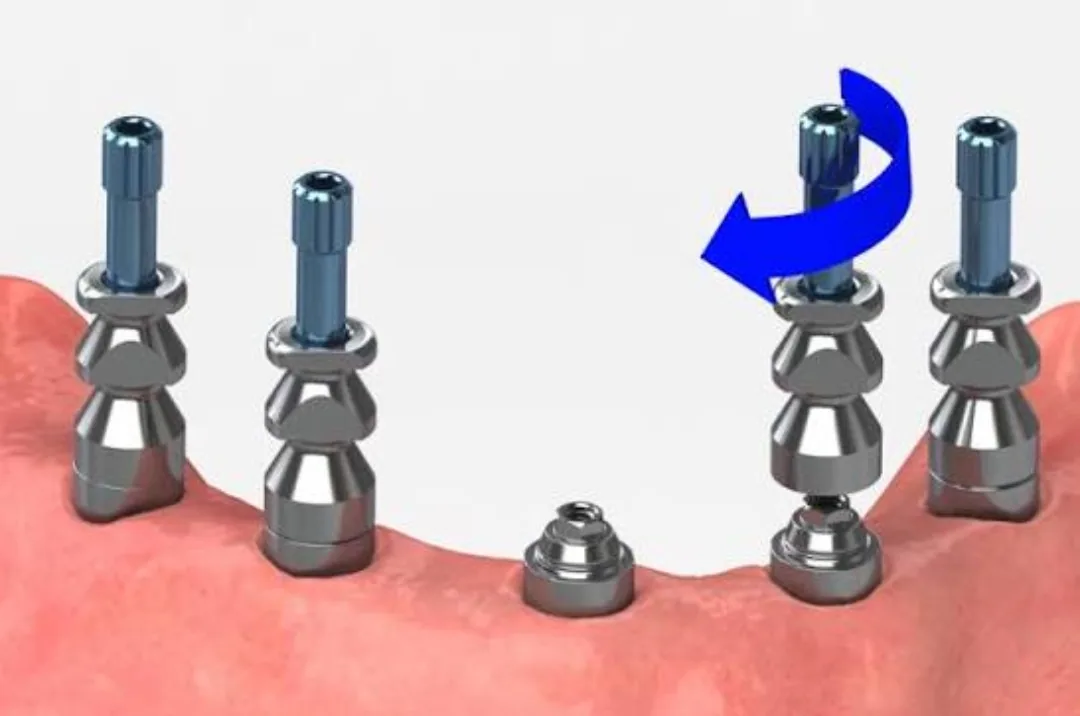
Sometimes the abutment is first fastened onto the implant and the impression is taken from that abutment, which is called an abutment-level impression. The most common example is the multi-unit abutment in full-arch prostheses: the abutment is fastened onto the implant and stays there, and a coping and analog specific to that abutment are used. In this case what is transferred to the model is the position of the abutment, not of the implant itself.
This page is intended for educational use by dentists and dental students.